AI Tools (5318)
Description Generator (19)
FREE- AI Description Generator
- Product Description Generator
- Outfit Description Generator
- Product Description Writer
- AI Business Description Generator
Name Generator (50)
FREE- Product Name Generator
- Restaurant Name Generator
- Project Name Generator
- Cafe Name Generator
- Coffee Shop Name Generator
Upload Your Mannequin Photo
White suits the main listing photo on most marketplaces.
The options below are optional and already filled in.
Preview
Preview
Your image will appear here
Upload an image and click Generate to see your AI-enhanced preview
How to Photograph Clothing on a Mannequin
A step-by-step guide to photographing clothes on a mannequin, plus a tool that cleans up your shot.
How to photograph clothing on a mannequin
This is the full method, from setting up the room to the final edit. The numbered steps under How It Works further down are the short version.
Setup: the mannequin, the background and the room
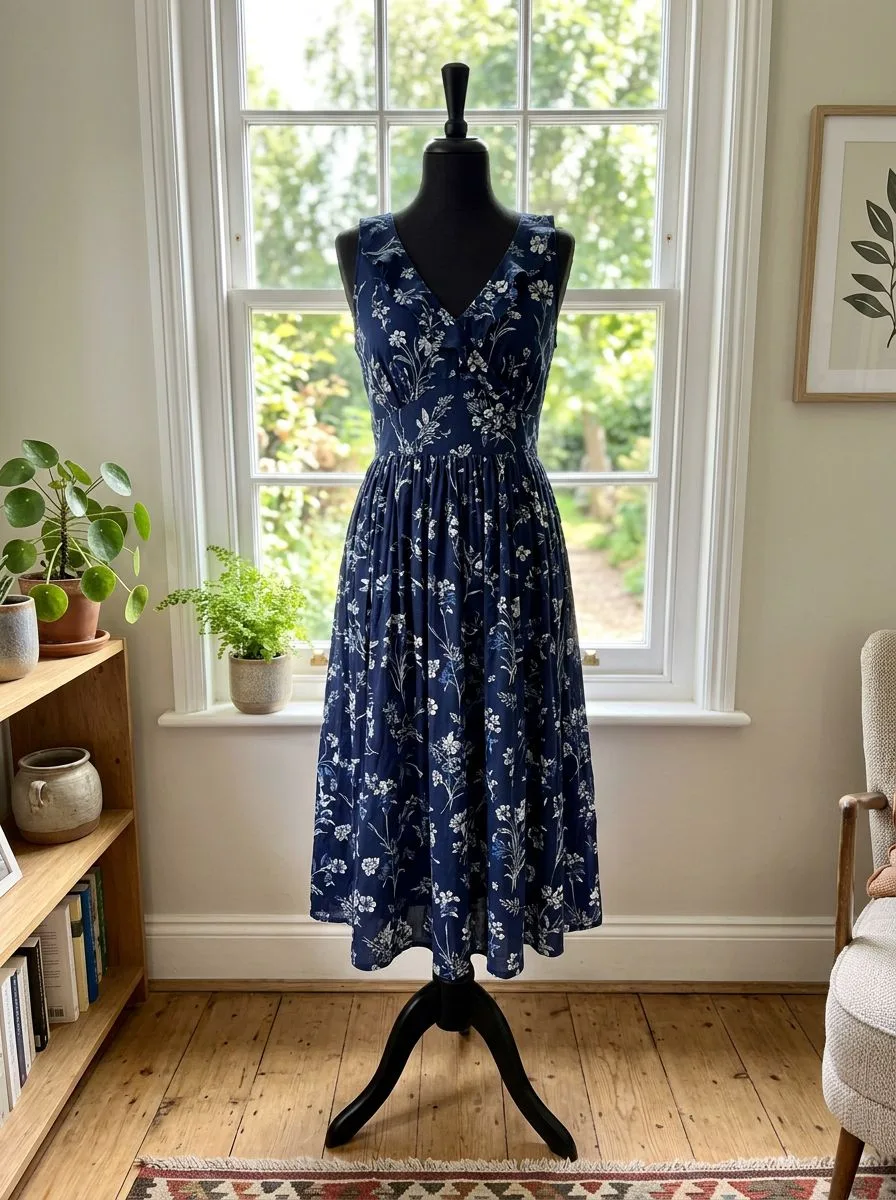
Pick a mannequin or dress form in the same size as the garment. A matte white, grey or black form is the easiest to light and to clean up later. A form with a removable neck or arms gives you more options for shirts, jackets and dresses.
Put a plain backdrop behind it: a white or light grey paper sweep, a painted wall or a foldable board. Light-colored clothes often look better on off-white or light grey than on bright white. Leave a step or two of space between the mannequin and the backdrop so no hard shadow lands behind the garment.
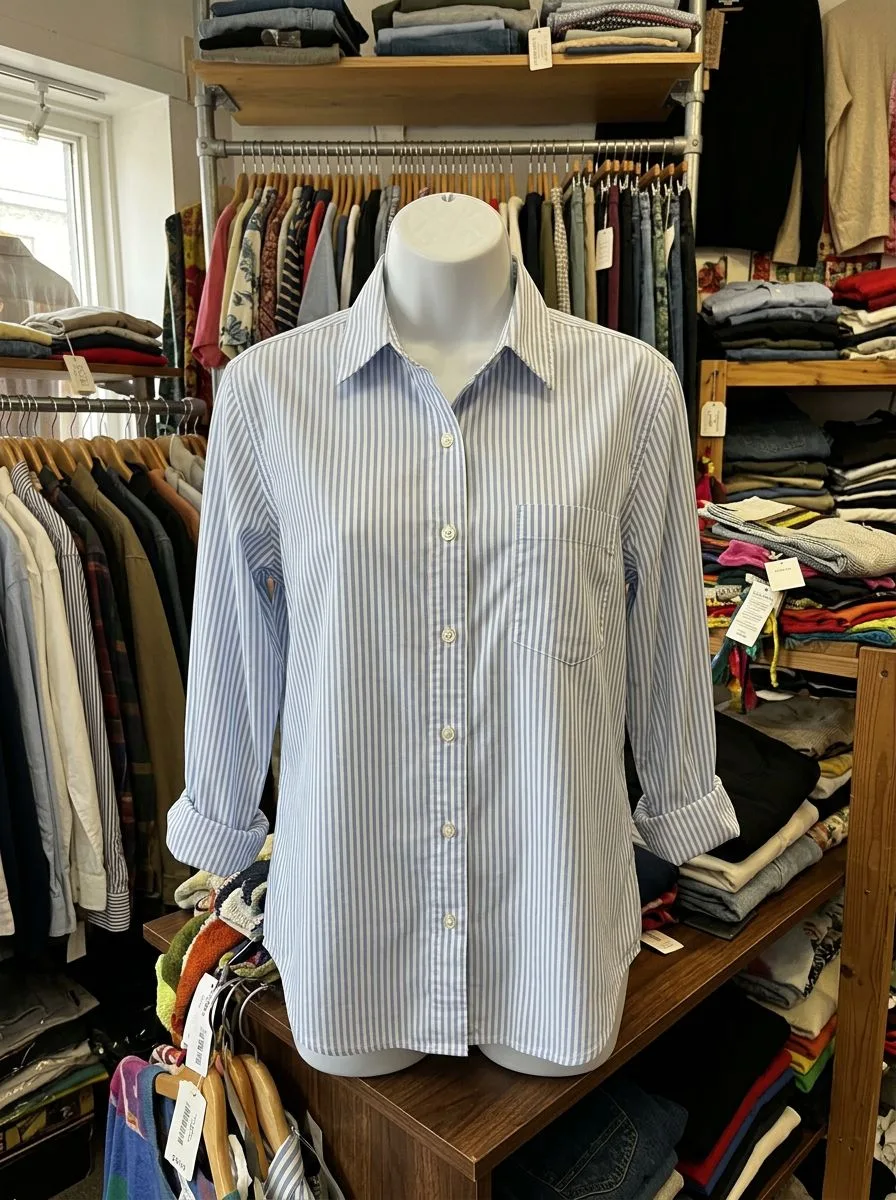
Clear the space before you set the lights. Tape down cables, and move rails, boxes and furniture out of the frame. Anything left at the edges of the photo pulls the eye away from the clothing.
Lighting for mannequin photos
Soft, even light from both sides shows the true color and texture of the fabric. A common setup is two softboxes or umbrellas, one on each side of the mannequin and slightly in front of it.
With only one light, put it to one side and a little above the garment, and bounce light back from the other side with a white board or a reflector. A reflector placed low in front lifts the shadows under the hem.
Daylight from a large window also works. Keep direct sun off the garment, and switch off ceiling lights so warm and cool light do not mix on the fabric.
Use the same lights, in the same positions and at the same power, for every product. Then the colors match from one listing to the next.
Camera height, angles and the shot list
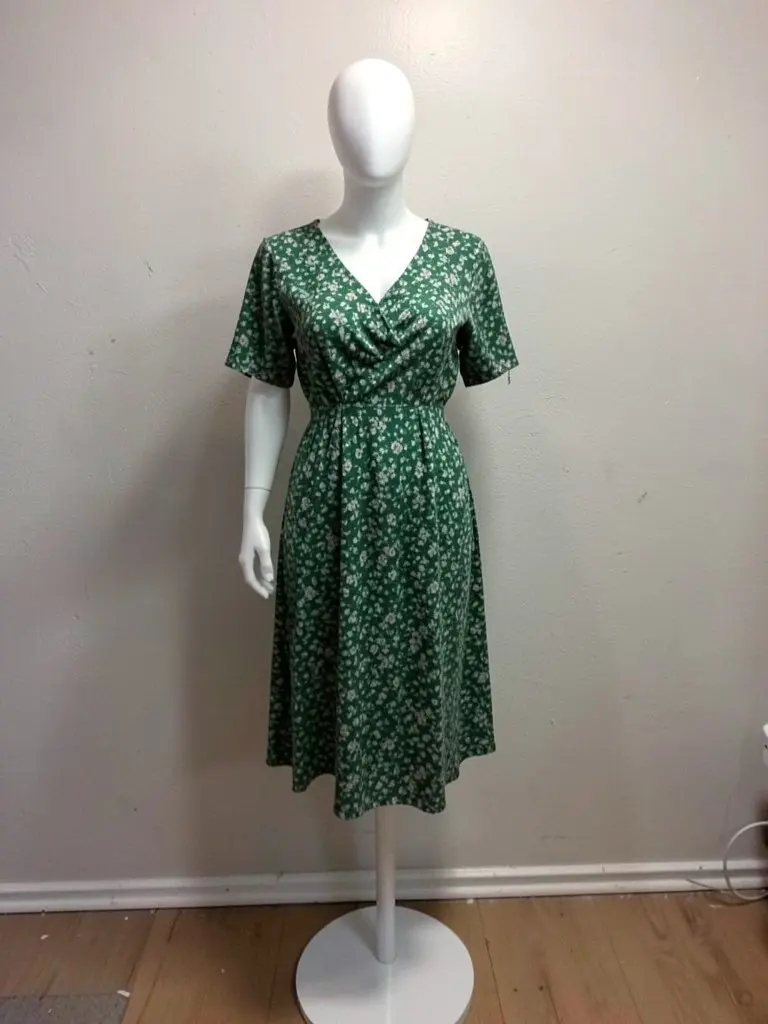
Put the camera on a tripod. For tops, jackets and dresses, set it level with the chest. For trousers and skirts, set it level with the hips. A camera that sits too high or too low makes the garment look tapered.
Shoot straight on, with the whole garment in the frame and a little space around it. Mark the tripod and mannequin spots on the floor so every product is shot from the same place.
If your camera has manual settings, a low ISO such as 100 and an aperture around f/8 keep the whole garment sharp. Shoot RAW, or the largest JPG your camera offers, so you have room to edit. A phone on a tripod in good light works too.
- Front: the full garment, straight on.
- Back: turn the mannequin, not the camera, and move the clips to the front first.
- Side or three-quarter view: shows the fit and how the fabric drapes.
- Close-ups: fabric texture, label, buttons, zips, stitching and any print.
Styling the garment on the mannequin
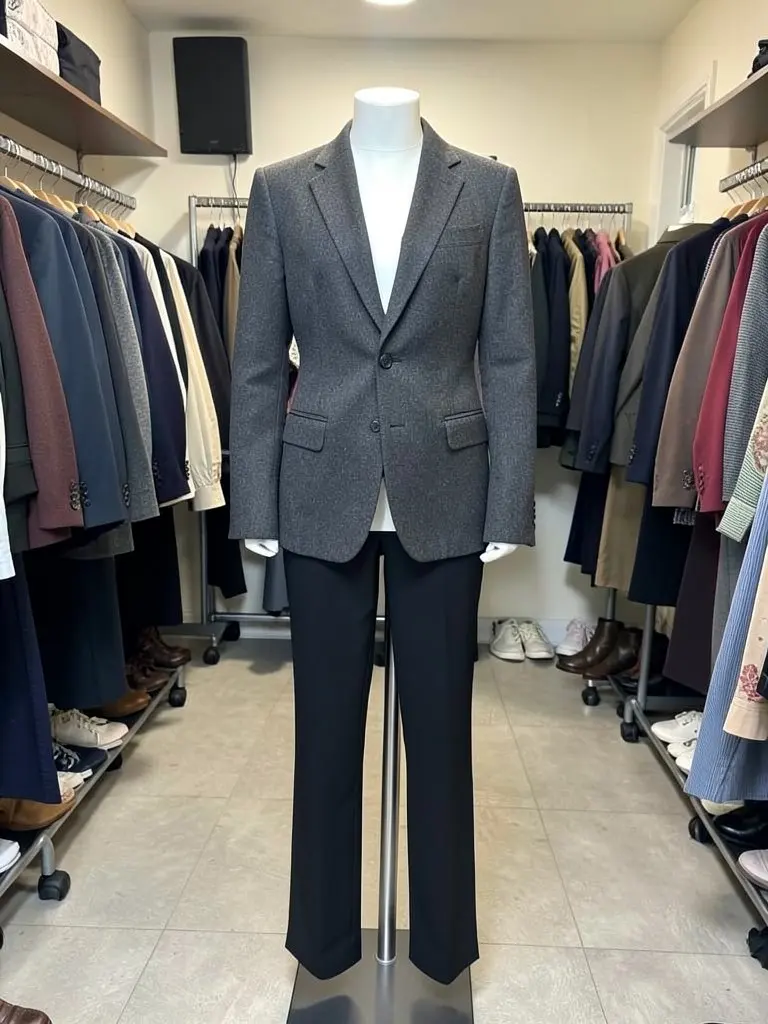
Steam out creases and lint-roll the fabric before it goes on the form. Check for loose threads, missing buttons and pilling.
Pull extra fabric to the back and hold it with clips or pins down the center back, so the front sits close without pulling. Do not clip so tight that the seams twist or the print stretches.
Line up the shoulders, the button line and the side seams. Make both sleeves the same length, and set collars, cuffs, drawstrings and hems straight. A grid overlay on the camera screen makes this easier.
Fill thin or soft fabric with tissue paper in the shoulders or sleeves. For strap dresses, a little double-sided tape keeps the straps in place.
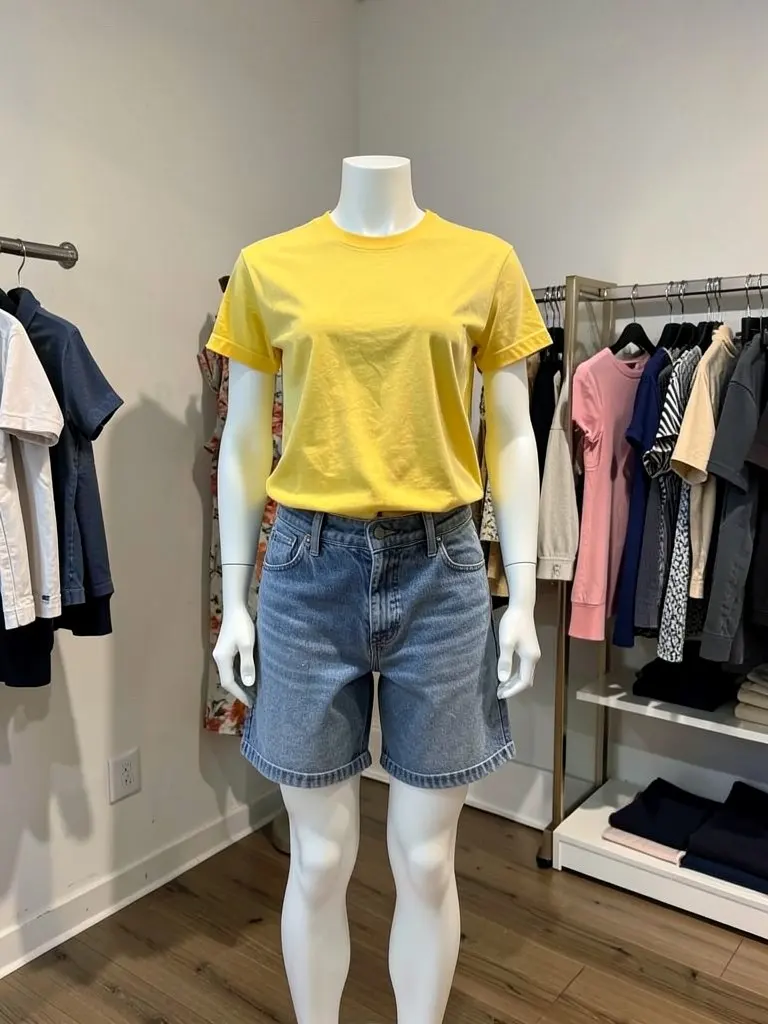
Editing your mannequin photos
Fix the white balance and exposure first, so the color on screen matches the real garment.
Crop every photo the same way. Then clean up: remove the stand, visible clips, tags and room clutter, and replace a messy background with plain white or light grey. The cleanup tool at the top of this page does this step and keeps your mannequin and garment as they are.
Resize and export the photos for your store and your social posts. Before you publish, compare each photo with the real garment so customers get what they see.
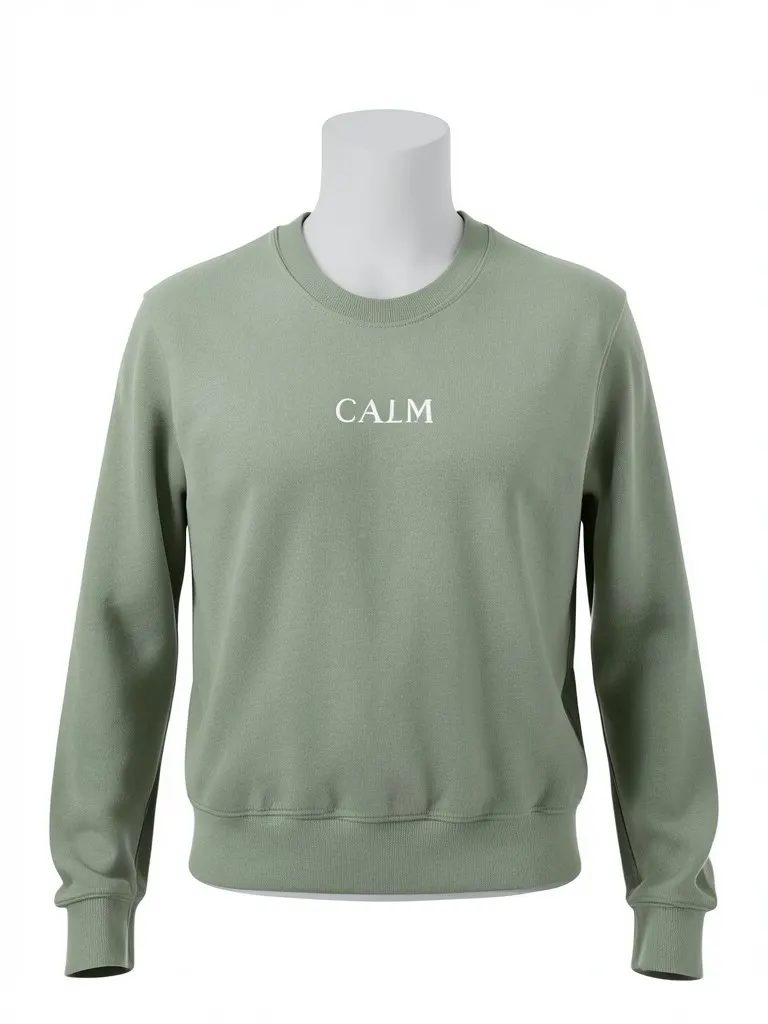
Overview
A mannequin or dress form shows how a garment hangs on a body without booking a model, and it holds the same shape for every product, so a whole collection looks consistent. Good mannequin photos come from four things: a form that fits the garment, a pinned and steamed fit, soft light from two sides, and a camera on a tripod at the garment's mid-height. Follow the steps below. If your photo was taken in a room, with a stand, clips or uneven light, upload it here and the AI keeps the mannequin and the garment and cleans up the background and lighting.
- •Free to use
- •8 steps: form, fit, steaming, background, lights, camera, angles, cleanup
- •Upload a mannequin photo to get a clean white, grey or beige studio background
- •Removes the stand, clips, tags and room clutter; the mannequin and garment stay
- •Even studio light, side light or natural daylight looks
Features
The mannequin stays
This tool keeps your mannequin and garment and cleans up everything around them. It does not add a model or make the mannequin invisible.
Studio background from any room
Shot in a bedroom or a shop? Get a plain white, light grey or beige studio background for your listing.
Even lighting
Choose even two-light studio lighting, side light that shows fabric texture, or soft natural daylight.
Clutter removed
Remove the mannequin stand and base, visible clips and pins, price tags, cables and furniture.
How It Works
Choose a form that fits the garment
Use a mannequin or dress form in the same size as the garment. A form that is too big stretches the fabric, and one that is too small makes it sag; pinning cannot fully hide either. A neutral white, grey or black form is easiest to light.
Steam, lint-roll and pin the fit
Steam out creases and lint-roll the fabric before it goes on the form. Then take up loose fabric with clips or pins at the back, where the camera cannot see them. Do not pull so tight that seams twist or the print distorts.
Straighten every line
Level the shoulders, line up the buttons and seams down the center, and set collars, cuffs and hems straight. Tissue paper inside the shoulders or sleeves fills out soft or thin fabric.
Set up a plain background
Use a white or light grey sweep or wall, and move the mannequin a step or two away from it so no hard shadow falls behind the garment.
Light from both sides
Place two soft lights, one on each side of the mannequin and slightly in front, or one main light to the side and a reflector on the other. Light that comes only from the camera position flattens the fabric texture.
Put the camera on a tripod at mid-height
Set the camera at the height of the middle of the garment and shoot straight on. A camera above the garment stretches its length. Keep the tripod and the mannequin in the same marked spots for the whole product range.
Shoot every angle and the details
Turn the mannequin, not the camera: front, side, back, then close-ups of the fabric, label, buttons, zips and stitching. Shoppers use these to judge quality.
Clean up the photo
Upload your shot in the tool at the top of this page. Pick a background, a lighting look and what to remove (stand, clips, tags or clutter), then generate and compare the result with the real garment before you publish it.
Use Cases
Online clothing stores
Shoot a whole collection on one mannequin so every product page looks the same.
Key Benefits:
- •Consistent shape across products
- •White main images
- •Front, side and back shots
Boutiques and resale sellers
Photograph stock on the shop mannequin and turn the shot into a clean listing photo.
Key Benefits:
- •Works from a phone photo
- •Removes the shop background
- •Removes tags and clips
Makers and small brands
Show handmade and sample pieces on a dress form without hiring a studio.
Key Benefits:
- •Shows drape and fit
- •Detail shots of fabric and stitching
- •Clean, even light
Frequently Asked Questions
Use a form in the garment's size, steam and pin the fit from the back, place the mannequin away from a plain white or light grey background, light it softly from both sides, and shoot straight on from a tripod at the garment's mid-height. Then turn the mannequin to shoot the side, the back and close-ups of the details.
Two soft light sources, one on each side of the mannequin, give even light without hard shadows. If you have one light, put it to one side and slightly above, and bounce light back from the other side with a white board or reflector. Daylight from a large window works too, as long as the sun is not shining straight onto the garment.
At about the middle of the garment, pointing straight at it. A camera above the garment makes it look longer at the top and shorter at the hem. Use a tripod and mark its spot, so every product in the range is shot from the same place.
Clip or pin the extra fabric at the back of the mannequin when you shoot the front, and move the clips to the front when you shoot the back. If a clip, a tag or the stand still shows, the cleanup tool on this page can remove it.
No. It keeps the mannequin and the garment and cleans up the background, the lighting and the clutter around them. Always compare the result with the real garment before you publish it, so customers get what they see.
Free to use: you can try it for free. After the free tries, each generated photo uses 1 credit. See the pricing page for plans.
Related tools
AI product photos by product
Store photos for each kind of product: dresses, jeans, jackets, shoes, bags, watches, sunglasses and jewelry.
AI Clothing Product Photography
- AI Dress Photography
- AI Jeans Photography
- AI Jacket Photography
- AI Sportswear Photos
- AI Streetwear Photos
- AI Shoes Model
- AI Handbag Photography
- AI Watch Photography
- AI Sunglasses Model
- AI Jewelry Model
- AI Handkerchief Photography
- AI Headphones Photography
- AI Ecommerce Product Photography
- AI Ghost Mannequin Generator
- AI Flat Lay Generator
- Clothes Color Changer
- Dress Color Changer