How to Turn a Design Into a Product
You have an illustration, a logo or a slogan, and you want to sell it on clothing. This guide walks through the steps from finished artwork to a product a customer can buy: preparing the file, choosing the garment and print method, ordering a sample, pricing it and showing it online. It focuses on apparel, such as T-shirts, hoodies and tote bags.
Updated November 2026
The short version
- Finish and clean the artwork, with a transparent background.
- Pick the product (garment type, colour, fit) and who it is for.
- Pick a way to make it: print-on-demand, a local printer, or print it yourself.
- Place the design with a template or mockup, then order one real sample.
- Work out your cost, price and margin.
- Photograph the product and list it where your customers shop.
Step 1: Prepare the artwork
Printers need clean files. Save your design with a transparent background, as a PNG at about 300 DPI at the size you want it printed, or as a vector file (SVG or PDF) if it was drawn as vector art. A vector file stays sharp at any size, while a small, blurry image will print blurry.
Check the colours. Screens show colours that ink on fabric cannot always match, and a design with many fine gradients may suit one print method but not another. Keep the number of colours low if you plan to screen print, because each colour is a separate screen.
Avoid designs that use other people’s logos, characters, song lyrics or celebrity faces. Using protected work without permission can get your product removed, and it is a legal risk. Original artwork is your best asset.
Step 2: Choose the product
A T-shirt is the usual first product because it is cheap to make, easy to size and easy to photograph. Hoodies and sweatshirts cost more per piece but sell at a higher price. Totes, caps and hats are small, simple extras.
Think about the customer. A bold, large print suits a boxy tee or a hoodie. A small chest logo suits a polo or a cap. A fine-line drawing can look best on a light-coloured garment. Choosing the garment before you finalise the layout avoids rework.
Step 3: Choose how it will be made
| Method | Best for | Things to know |
|---|---|---|
| Print-on-demand (DTG or similar) | Testing designs with no stock | Each order is printed after it is sold, so unit cost is higher but there is no minimum |
| Screen printing | Larger runs of simple designs | Needs a setup cost per colour, so unit cost falls as quantity rises |
| DTF or heat transfer | Small batches with full-colour art | Flexible for short runs; feel and durability vary by supplier |
| Embroidery | Logos on caps, polos and jackets | Works best for simple shapes; fine detail may not stitch well |
Methods and prices differ by supplier, so ask for a sample before you commit to a large order. For puffy, raised designs, see our puff print guide.
Step 4: Place the design and make a mockup
Decide where the design goes and how big it is. A common starting point is a front chest print centred a few inches below the collar, but the right size depends on the garment and the art. Use a template to mark the print area, then check it on a mockup.
A mockup shows the finished product before it exists. It helps you judge size and colour, and you can use it to take pre-orders or to ask friends and customers for opinions before you pay for stock. Mockups do not replace a real sample, because fabric colour and ink behave differently on the real garment.
Step 5: Order a sample
Order one finished piece before you list anything. Check the print position, the colours, the feel of the print, the stitching and the fit. Wash it once and see how it holds up. Fix anything that is wrong before you order more.
Keep the sample for photography. A real garment on a hanger, on a flat surface or on a person always looks more trustworthy than a render alone.
Step 6: Price it
Add up the garment, the print or setup, packaging, shipping, payment fees and a share for returns. Then choose a margin. Starting from cost keeps you from selling at a loss.
Our garment costing sheet calculator turns your costs into a price and shows your margin. Keep each cost in a spreadsheet so you can see how quantity changes the cost per shirt.
Step 7: Photograph and list
Clear photos sell clothing. Show the front, the back and a close-up of the print. A flat lay is a good start, and a model photo helps buyers imagine the fit. You can turn a flat lay into a model photo with our free AI tools.
Write a short description with the size, fabric, fit and care instructions, and list the product on your own shop, a marketplace or both. Start small, sell a few pieces, then use what you learn to improve the next design.
Mistakes to avoid
- Ordering stock before a sample.
- Using a low-resolution image.
- Printing too many colours with screen printing.
- Forgetting shipping and fees when pricing.
- Using protected designs or names you do not own.
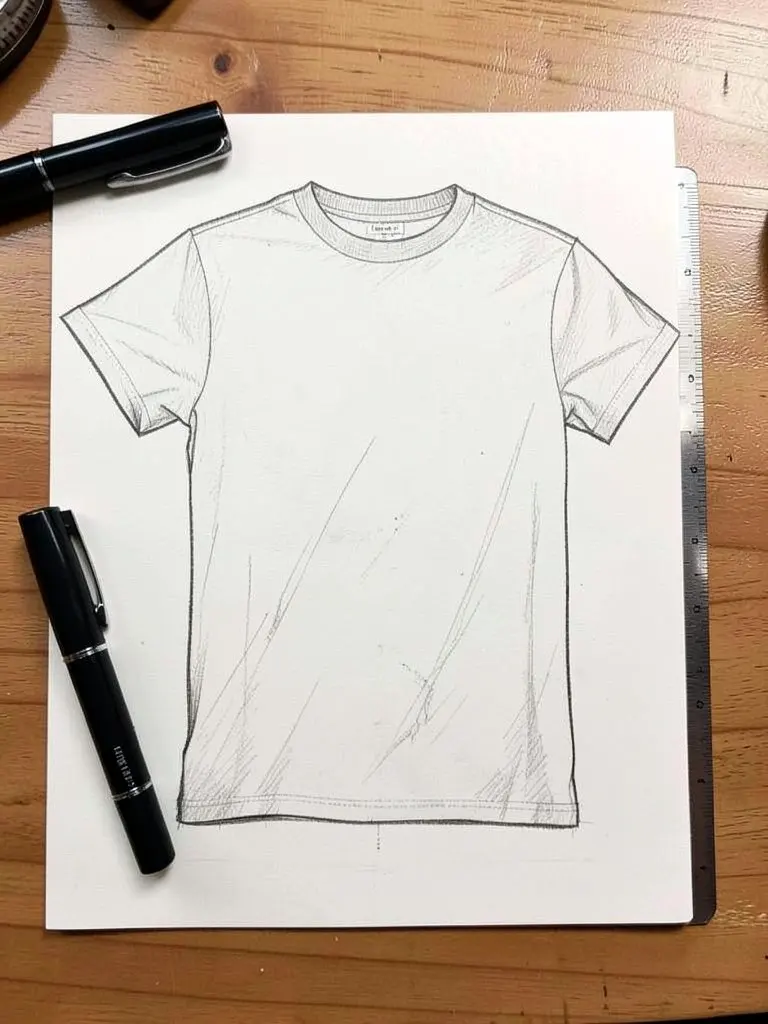
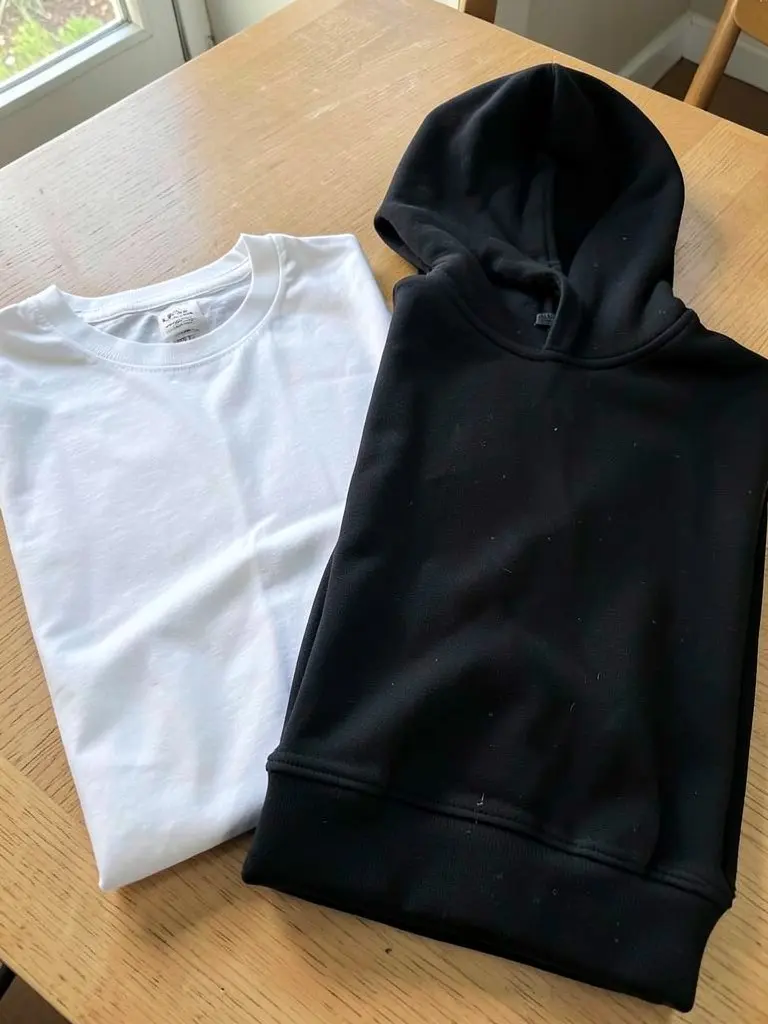
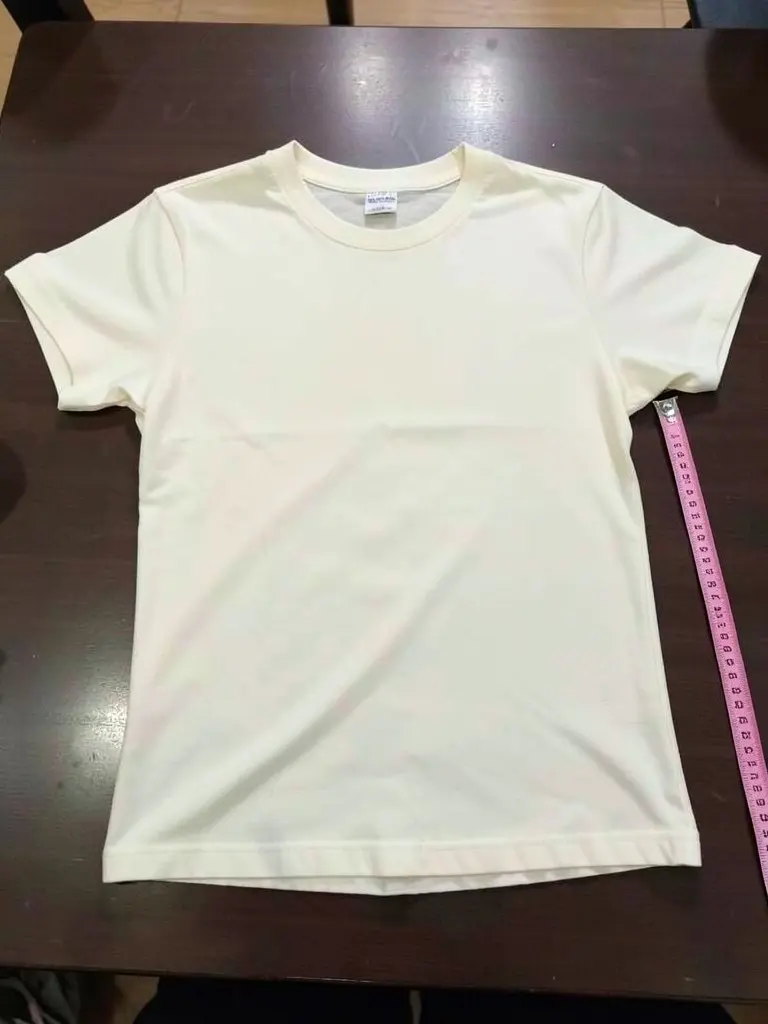
What a design becomes: sketch, blank and finished sample
A design turns into a product in three visible stages: the sketch, the plain blank you print or sew on, and the finished sample you check. Here are three AI-generated photos of those stages, with nothing printed on them.
Look at each stage before you spend money on the next.
FAQ
What file format do I need to print a design on a T-shirt?
A transparent PNG at about 300 DPI at print size is the most common request. Vector files such as SVG or PDF are best for simple logos and line art. Always check your printer’s own file guide.
Can I turn a design into a product without buying stock?
Yes. Print-on-demand services print and ship each order after it is sold, so you do not hold stock. Unit costs are higher, but there is no minimum order.
What is the cheapest way to start?
Print-on-demand, because you pay only when you sell. Order a sample first so you can check the quality before you promote the product.
Do I need a mockup or a sample?
Both help. A mockup is fast and free and shows the idea. A real sample proves the print, the colours and the fit. Use the mockup to plan and the sample to check.
How do I price a printed T-shirt?
Add the blank, print, extras, shipping and your share of setup, then add fees and your target margin. The garment costing sheet calculator helps you check the margin.
Can I use a design from the internet?
Only if you own it or have the right to use it. Copying logos, characters or other artists’ work can lead to takedowns and legal trouble.
What does a design look like at each stage of becoming a product?
First a sketch or artwork file, then a plain blank garment the design goes on, then a finished sample you hold and check before ordering more. The photos on this page are AI-generated examples with nothing printed on them.
More free tools for clothing sellers
Start and run a clothing brand
Plan the line, name the brand, write the tech pack and line sheet, and price each piece.
- What Is a Clothing Line
- Start a Clothing Business from Home
- How to Start a T-Shirt Business
- How to Start a Print on Demand Business
- Clothing Business Ideas
- Clothing Business Plan Generator
- Clothing Brand Name Generator
- Clothing Brand Slogan Generator
- Clothing Brand Description Generator
- Tech Pack Generator
- Garment Spec Sheet Generator
- Line Sheet Generator
- Clothing Costing Sheet Calculator
- Custom T-Shirt Pricing Calculator