Clothing Photography Lighting: Simple Studio Setups
Good lighting makes fabric look like fabric: even, soft and true to colour. This guide explains the lighting setups clothing photographers use, from a window to a three-light studio, how to set up a small home studio, and how lighting shows up in AI-made on-model photos.
Updated November 2026
Lighting for clothing photography: the basics
- Soft light is the goal. Hard, small lights make harsh shadows in folds and hide texture. A large, diffused source (a softbox, an umbrella or a window with a sheer curtain) is gentler on fabric.
- Even light matters. Draped fabric makes its own shadows, so fill them in so the garment shape is clear.
- Keep colour true. Mixed light, such as a window plus a warm lamp, tints colours. Use one kind of light and turn the others off.
- Keep it the same from product to product, so your whole store looks consistent.
Three-point lighting for clothes
Most studio clothing photos use three lights, and a simple three-point setup is enough for most garments.
- Key light: the main light, in front and to one side of the garment or model, usually through a softbox or umbrella.
- Fill light: a weaker light on the other side, or a white reflector, to lift the shadows the key light leaves.
- Back or hair light: behind the subject to separate it from the background and add shape.
A two-light or window setup for a small budget
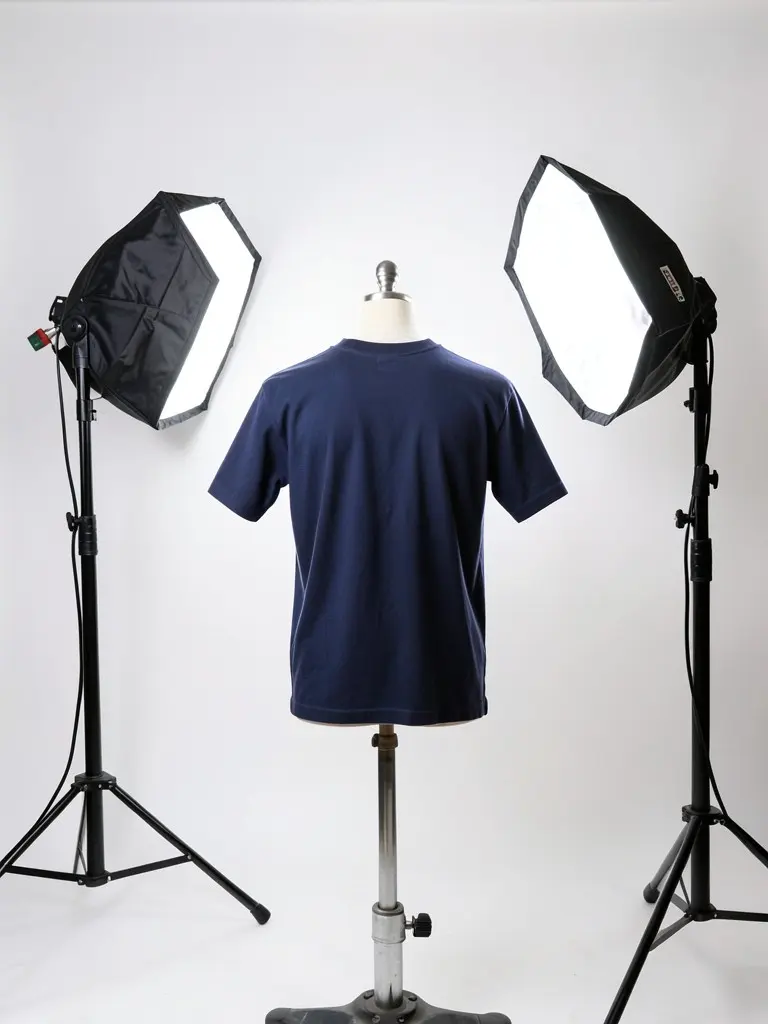
- Two lights: one soft key light at about 45 degrees and one fill light or a white board opposite it. Umbrellas are a cheap way to soften them.
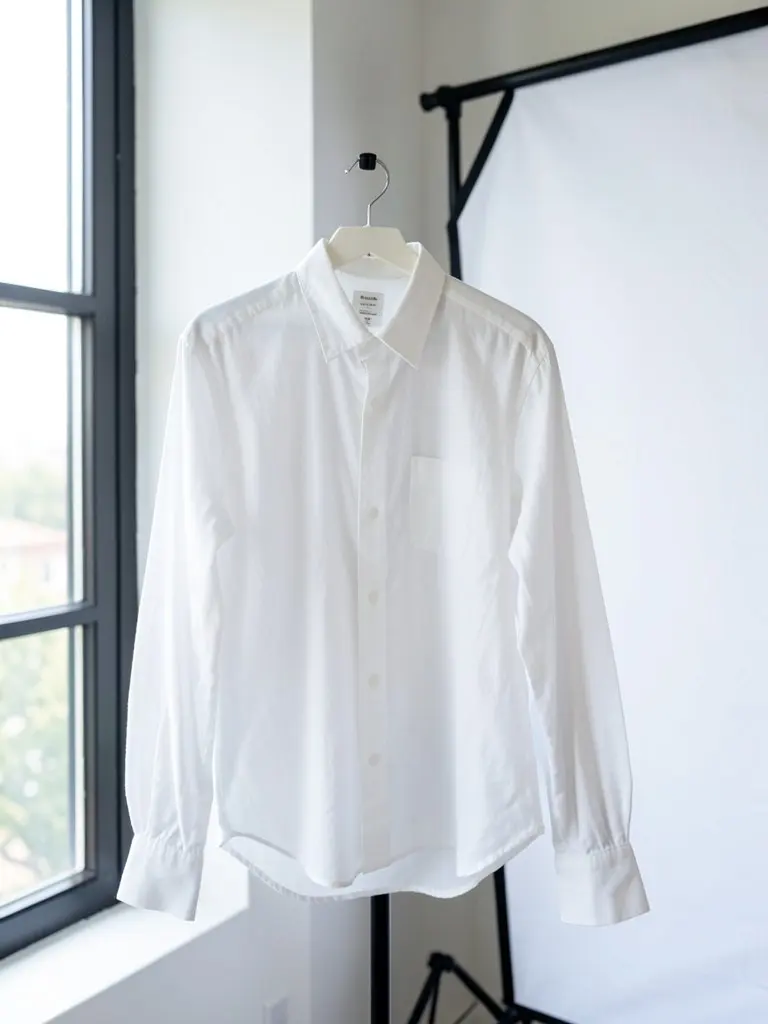
- One window: stand the garment or model beside a large window with no direct sun, and put a white board or sheet on the far side to bounce light into the shadows. Natural light is free but changes through the day, so shoot a whole batch at the same hour.
- Turn off room lamps so the colours do not tint.
Lighting flat lays and mannequins
- Flat lay: put the garment on a clean surface and light from above with one large soft source, or from both sides through diffusion, so no side has a hard shadow. Shoot straight down.
- Mannequin or hanger: light from the front and a little to the side, and add a fill so the inside of a collar or hem is not dark.
- Smooth the fabric first. Steam it so light falls on the fabric, not on wrinkles.
A small home studio for clothing photos
| Item | Why | Budget option |
|---|---|---|
| Backdrop | Keeps attention on the garment | A white or grey sheet, a roll of paper or a plain wall |
| Light | Soft, even light | A large window, or two softbox lights or lamps with diffusers |
| Reflector | Lifts shadows | A white foam board or a bed sheet |
| Camera support | Same angle every time, less blur | A tripod or a phone stand |
| Steamer or iron | Smooth fabric | A handheld steamer |
Choose the backdrop from your brand colours: a neutral white or light grey for the main image and a coloured or textured one for style shots.
How lighting looks in AI-made clothing photos
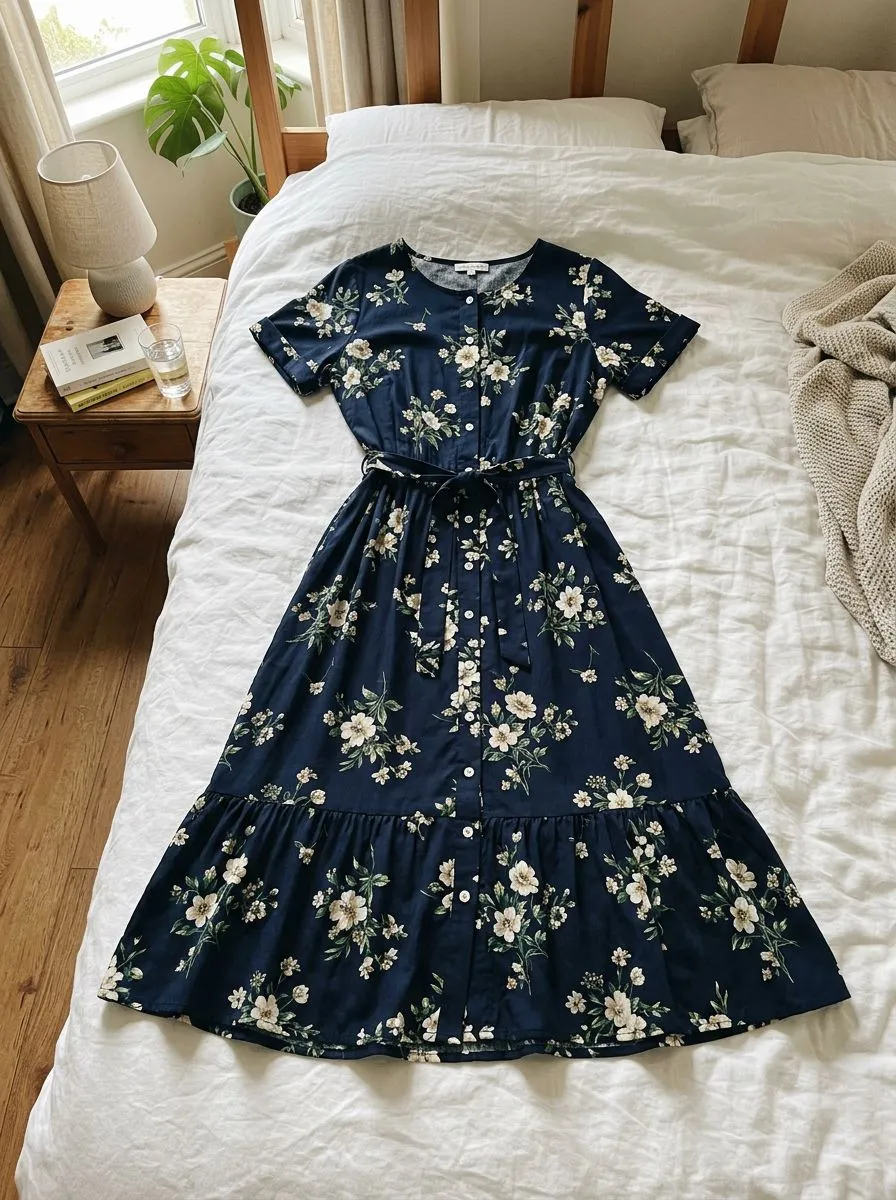
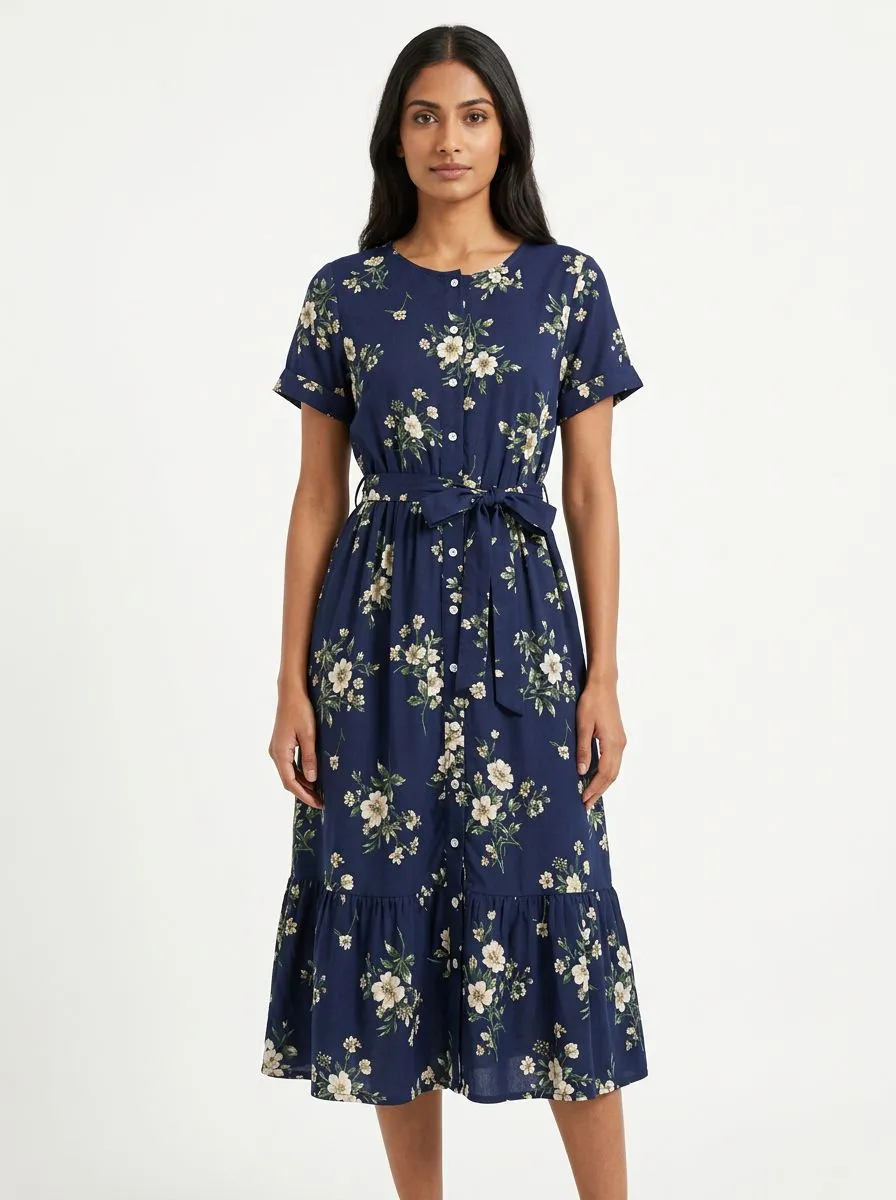
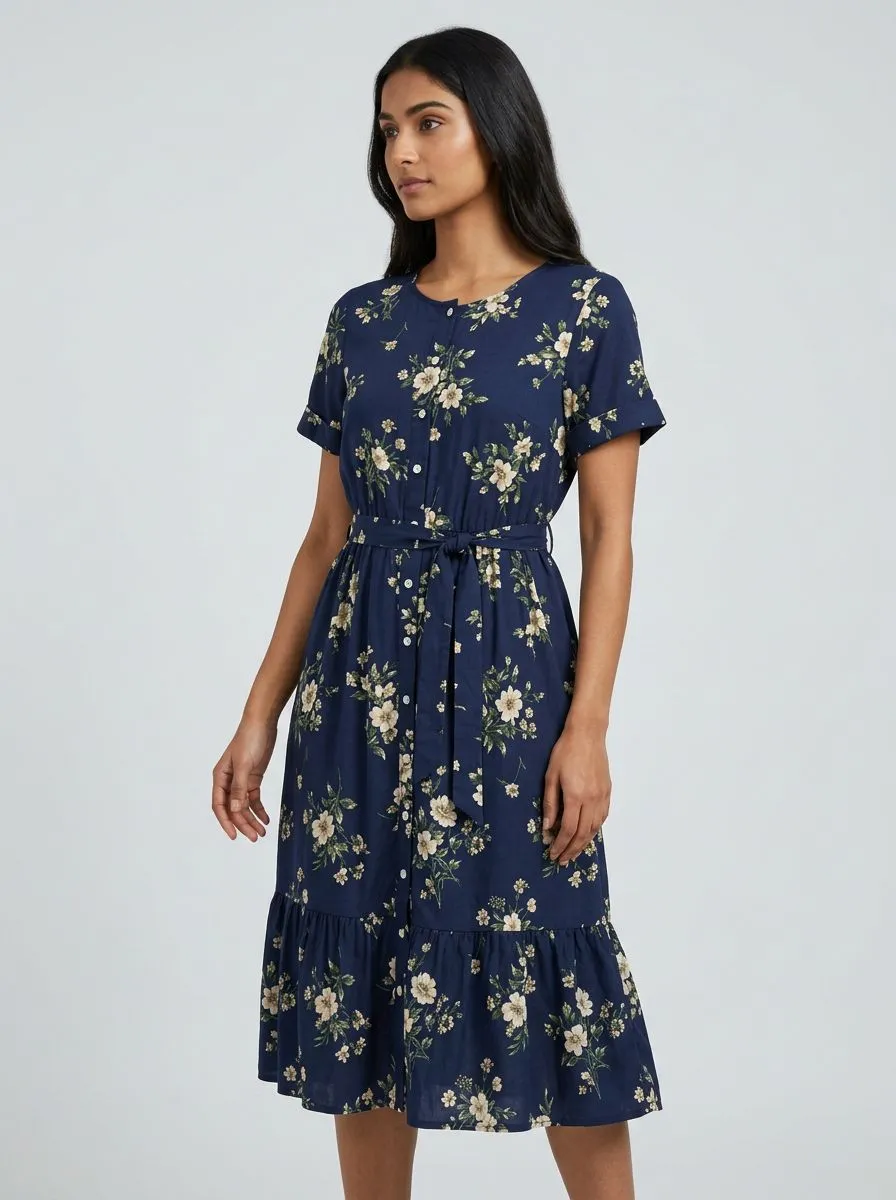
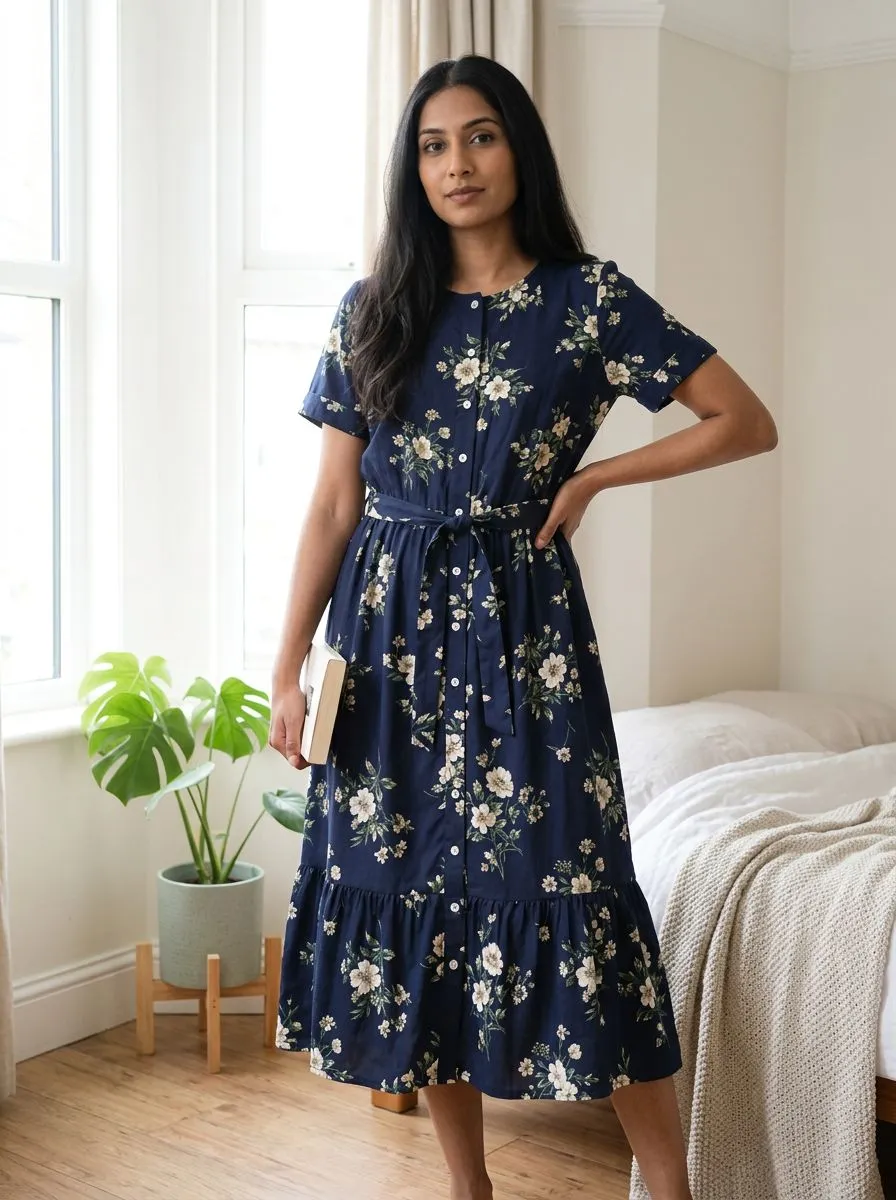
AI Garment Photoshoot does not use physical lights. Each shot preset describes the light and the background, such as soft even studio light on white, soft studio light on grey, natural window light at home or open daylight on a street, and the AI draws the picture. These examples show the same dress in those looks, made from one flat-lay phone photo. You cannot set lamp positions or power in the tool, so use this page to plan real shoots and the presets to get the look without a studio.
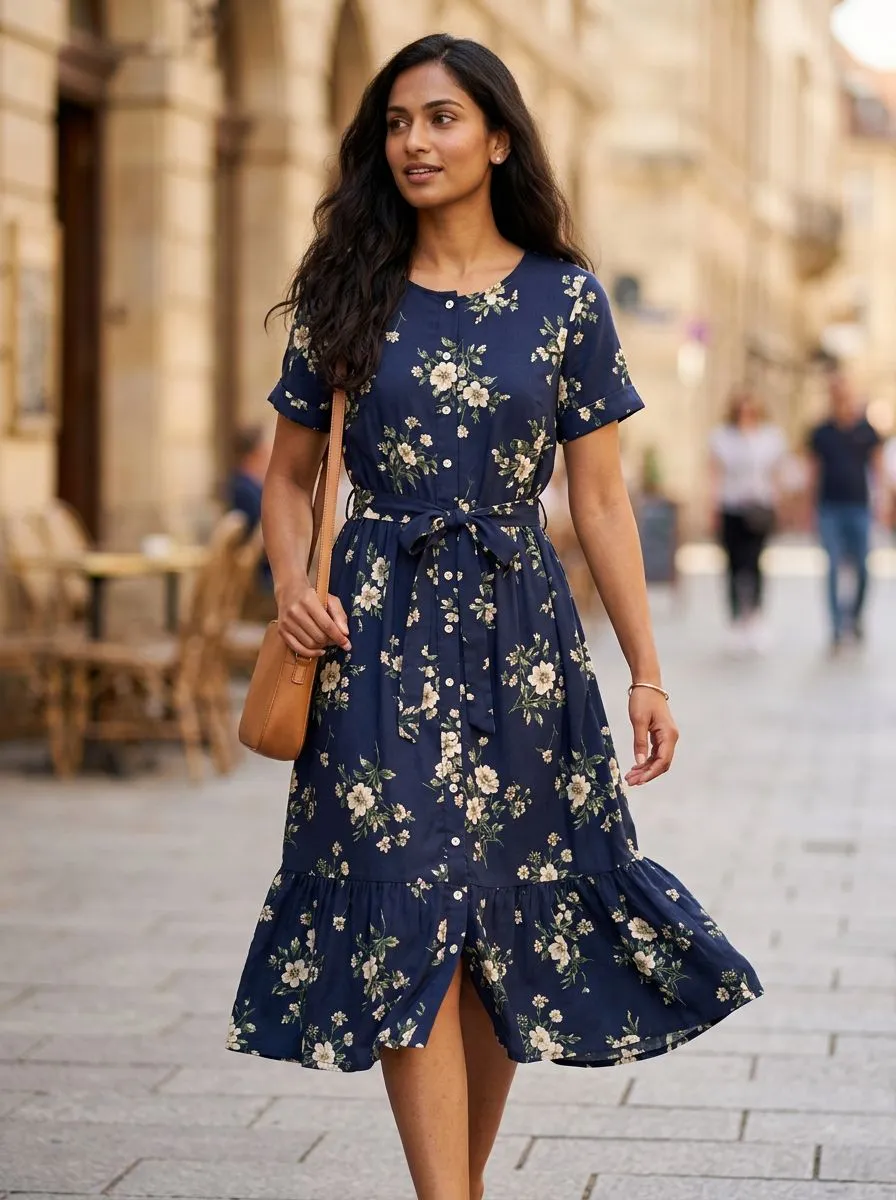
Lighting your garment photo for the best AI result
- Use soft, even light with no hard shadow across the garment.
- Show the whole garment, front-facing, on a plain surface.
- Keep colours true: avoid warm lamps or coloured light on the garment.
- Compare the result with the real item before you publish.
Bad light vs good light on the same garment
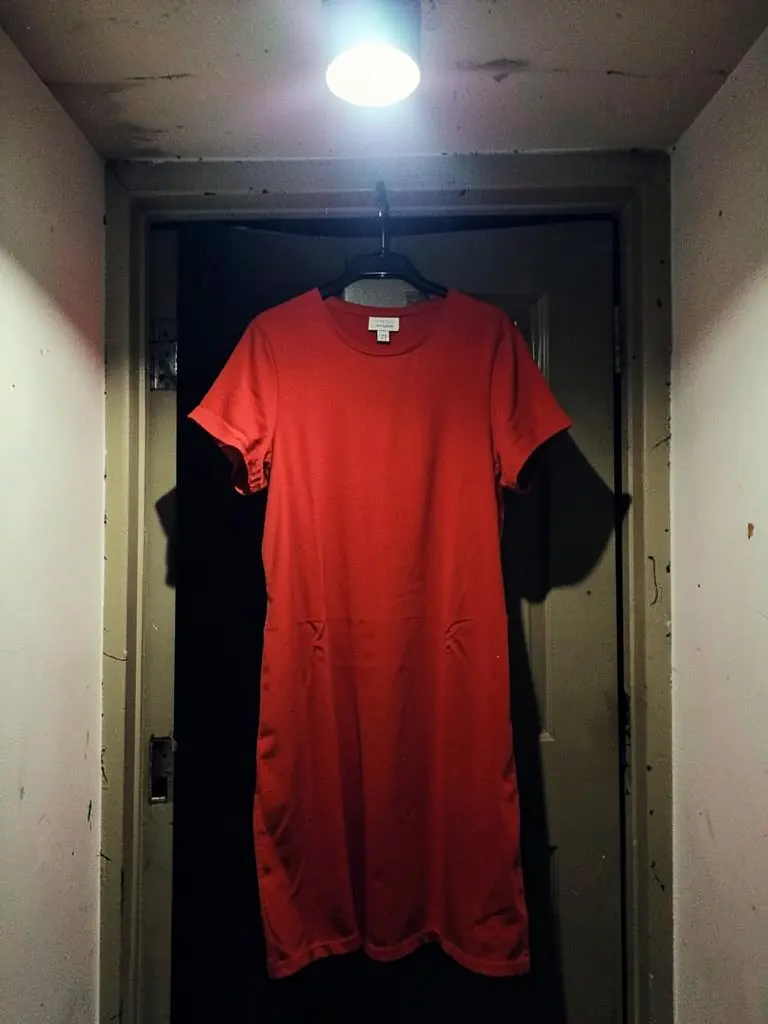
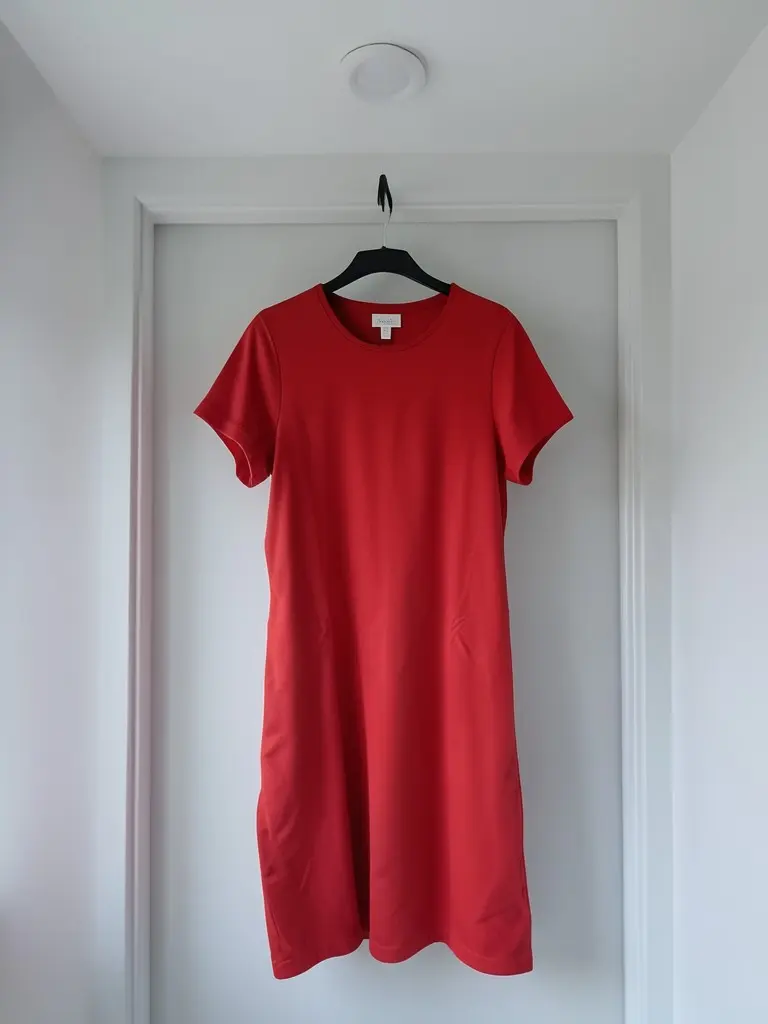
The same dress can look cheap or expensive depending only on the light. Harsh overhead light makes dark shadows and shifts the colour. A window with no direct sun, or a softbox, gives even light and true colour.
The photos below are AI-generated examples of a home window setup, a two-softbox studio setup and the same red dress under bad and good light. They illustrate the idea; they are not a measured light test.
FAQ
What lighting is best for clothing photography?
Soft, even light. A large diffused source such as a softbox, an umbrella or a window with no direct sun shows fabric well. Use a fill light or a white reflector so folds do not go dark.
How many lights do I need for clothing photography?
Three lights (key, fill and back) are common in a studio, but one window and a white reflector, or two lights with diffusers, are enough to start.
Can I use natural light for clothing photos?
Yes. Use a bright window with no direct sun, add a white board to bounce light into shadows, and shoot a batch at the same hour so the colours stay consistent. Natural light changes through the day.
How do I light a flat lay of clothes?
Use one large soft light from above, or two matched lights from the sides through diffusion, so there is no hard shadow on either side. Shoot straight down and steam the garment first.
Does AI Garment Photoshoot let me set the lighting?
No. You pick a shot preset, and each preset describes its own light and background, such as soft studio light on white or natural window light. It does not simulate lamp positions or power.
Why does my clothing look a different colour in photos?
Usually mixed or harsh light. Warm lamps, overhead bulbs and direct sun tint fabric and add hard shadows. Turn off other lights and use one soft source, such as a window with no direct sun, so the colour stays true.
Are the example photos real people?
No. The example photos are AI-generated adult models. No real person’s face or body is used.