Clothing Photography Ideas for Your Online Store
A clothing listing sells better with a small set of different pictures, not one. This guide lists the clothing photography ideas that online stores use, shows an example of each from one dress, and says when to pick which. You can shoot them with a phone and a window, or make the on-model ones from a single garment photo.
Updated November 2026
Clothing photography ideas, shown on one dress
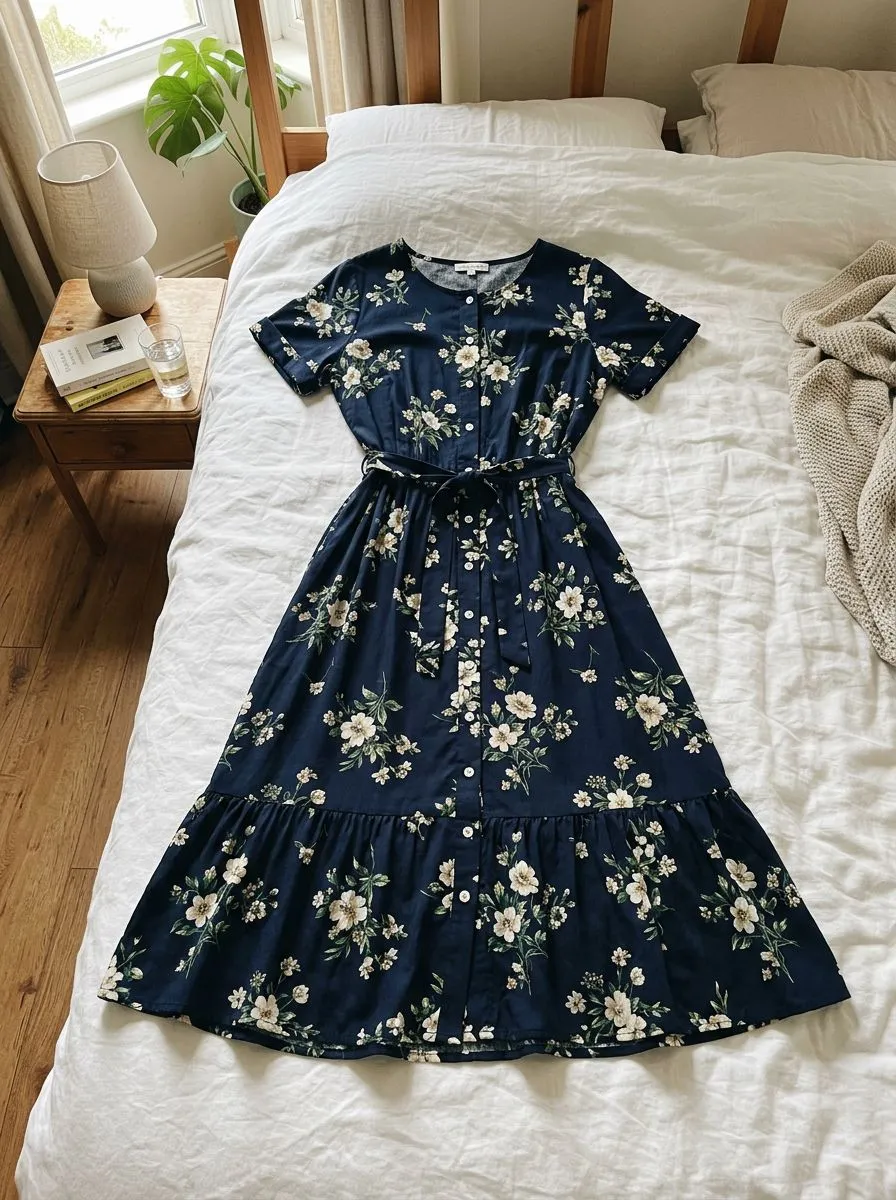
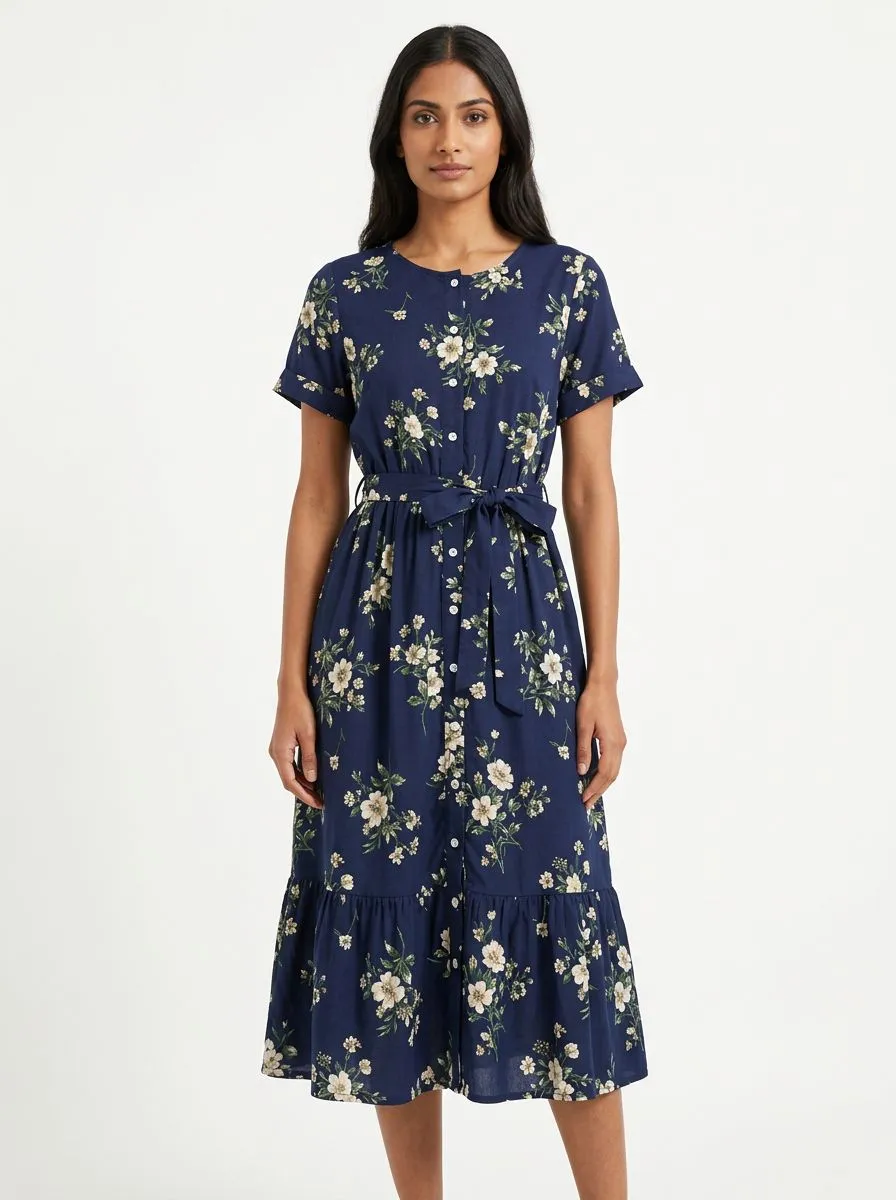
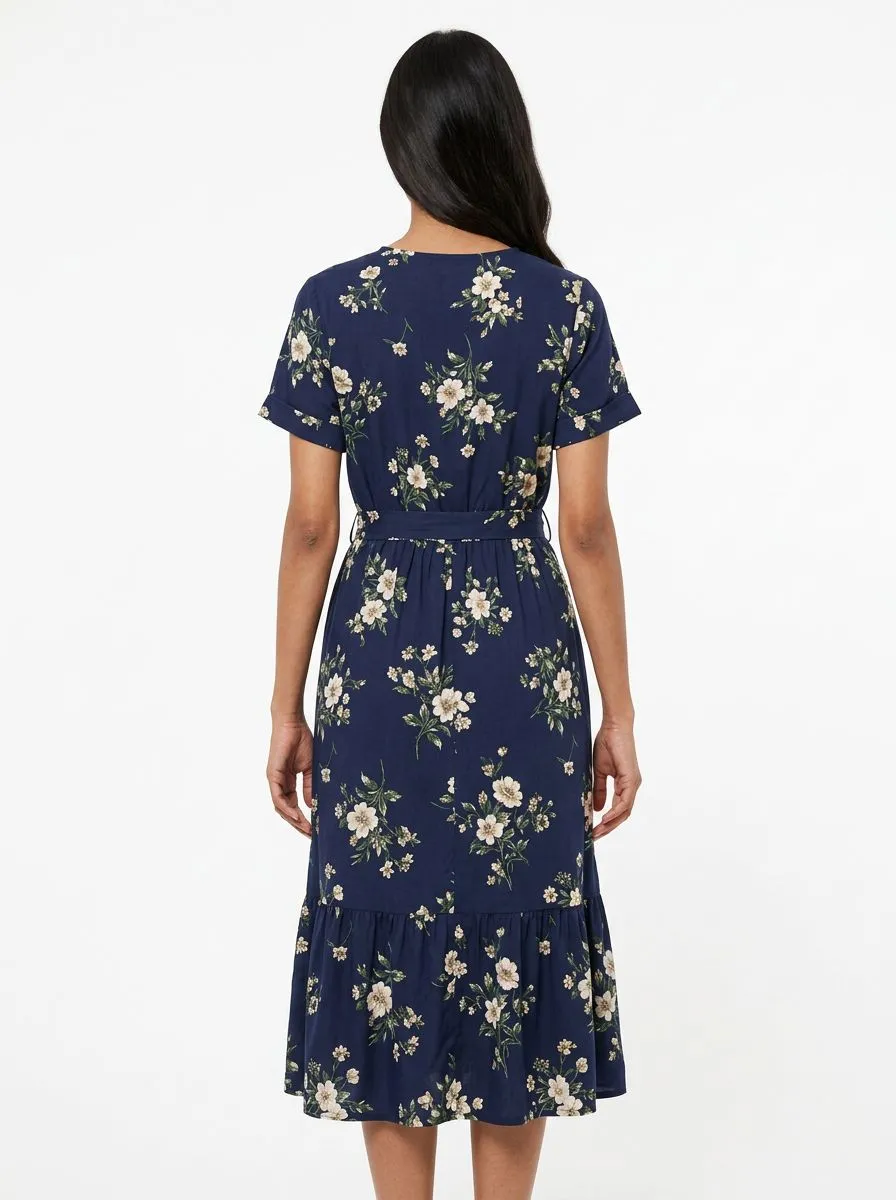
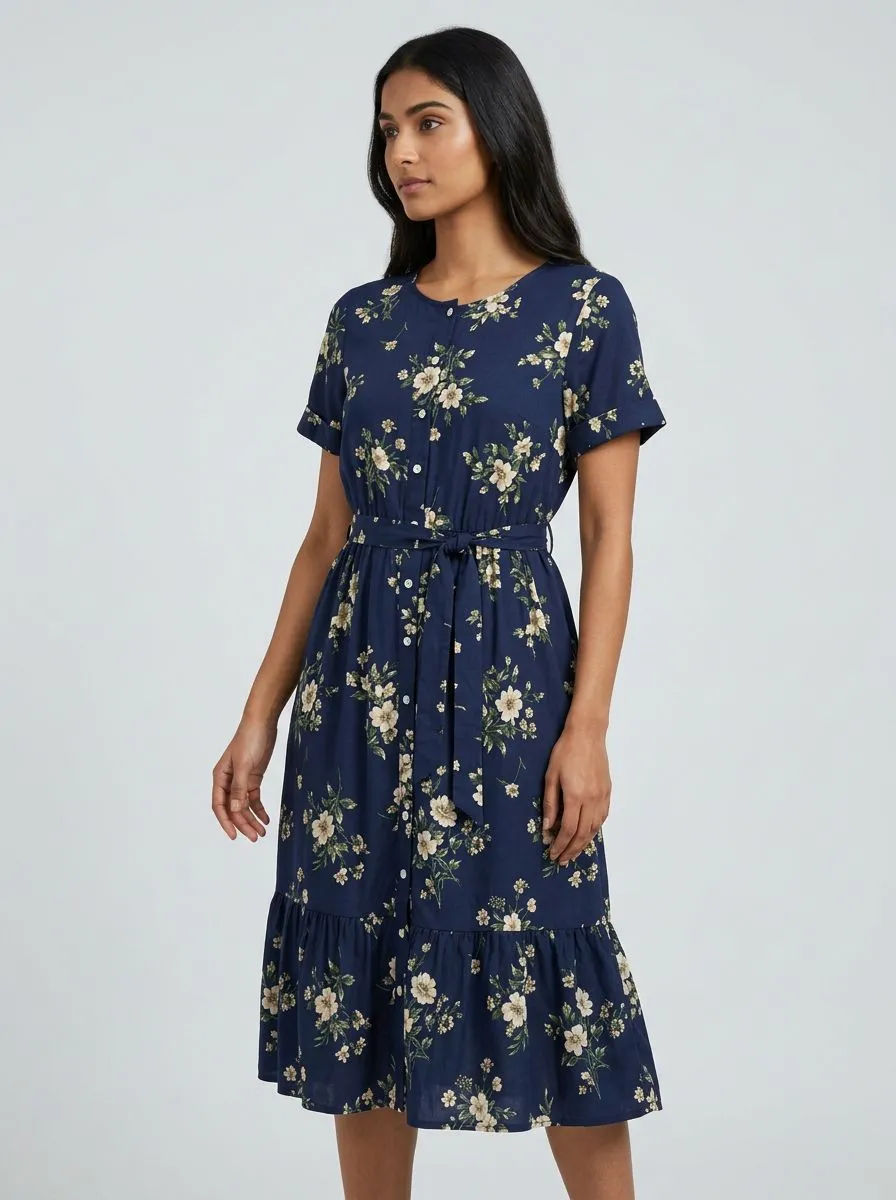
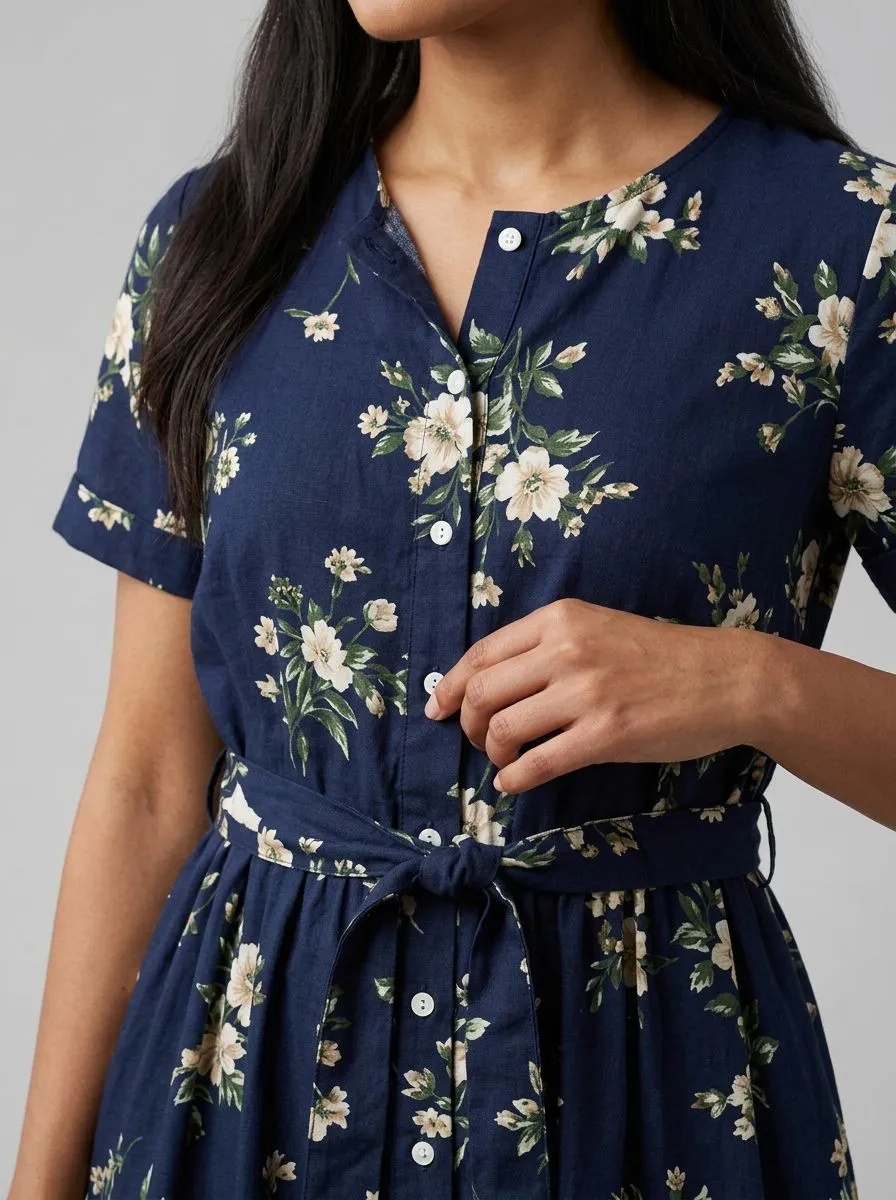
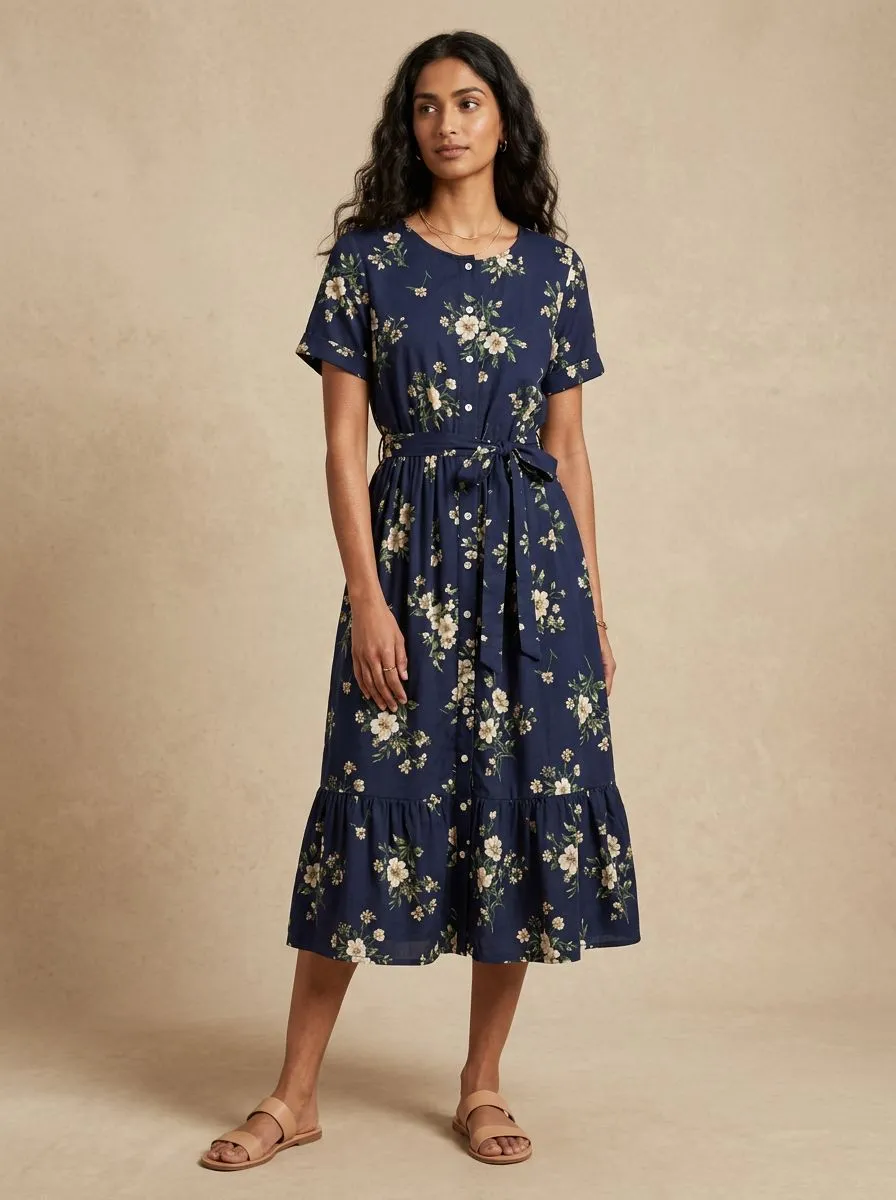
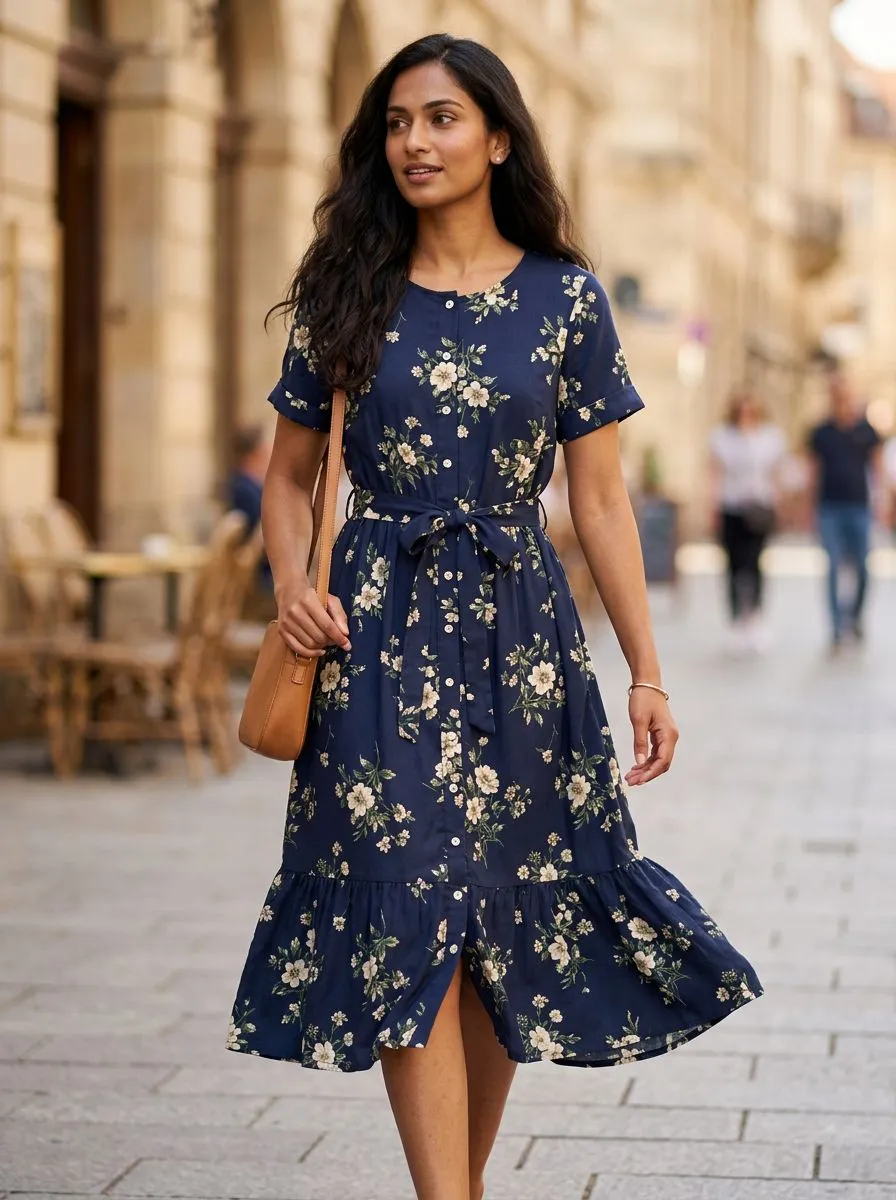
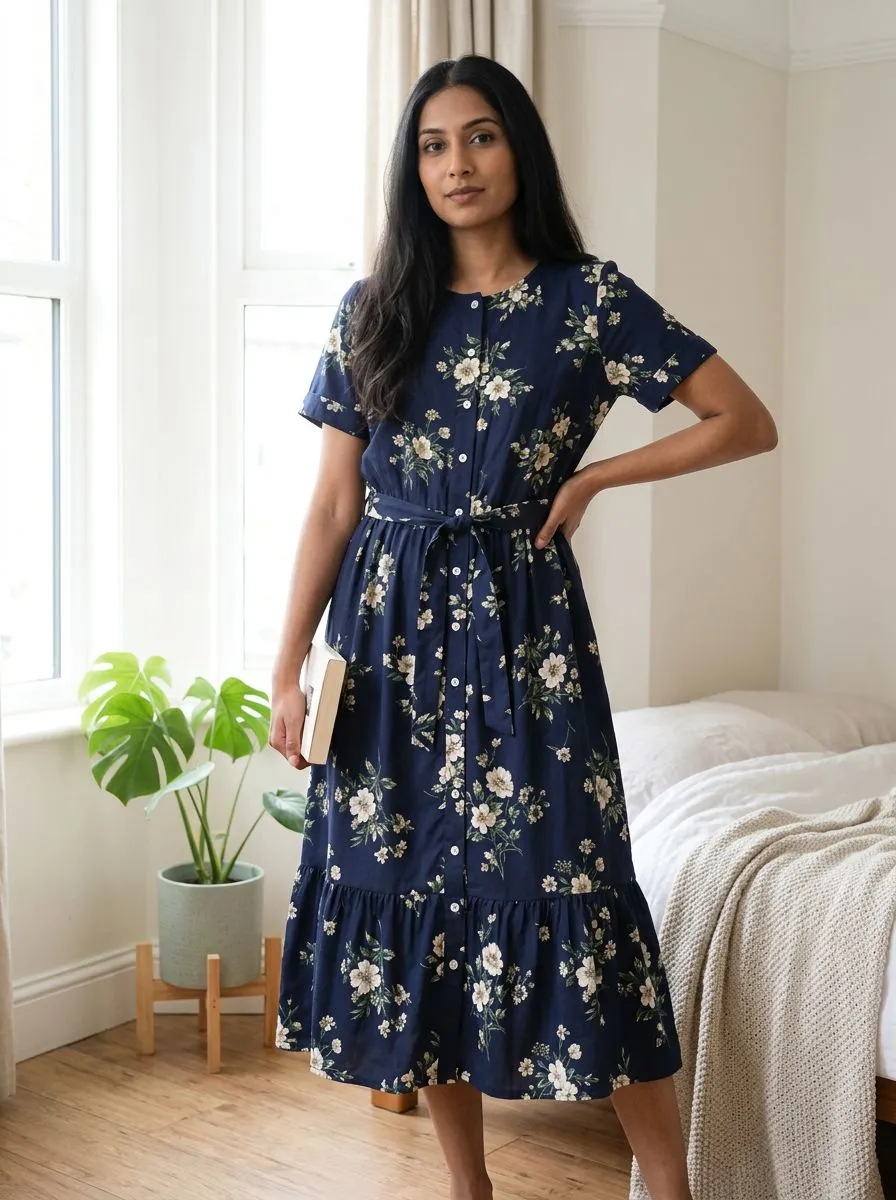
All the pictures below show the same navy floral dress. The first is a plain flat-lay phone photo. The rest are on-model shots made from it with the shot presets in AI Garment Photoshoot, so you can see how one garment turns into a full set. The model is AI-generated and an adult; no real person is shown.
The core shots every clothing listing needs
- Front on a plain background: the main image. A white or light grey backdrop keeps the eye on the garment and is what most marketplaces expect first.
- Back view: buyers want to see the back of a dress, a hoodie print or a jacket vent.
- Three-quarter angle: shows how the garment drapes and moves instead of hanging straight.
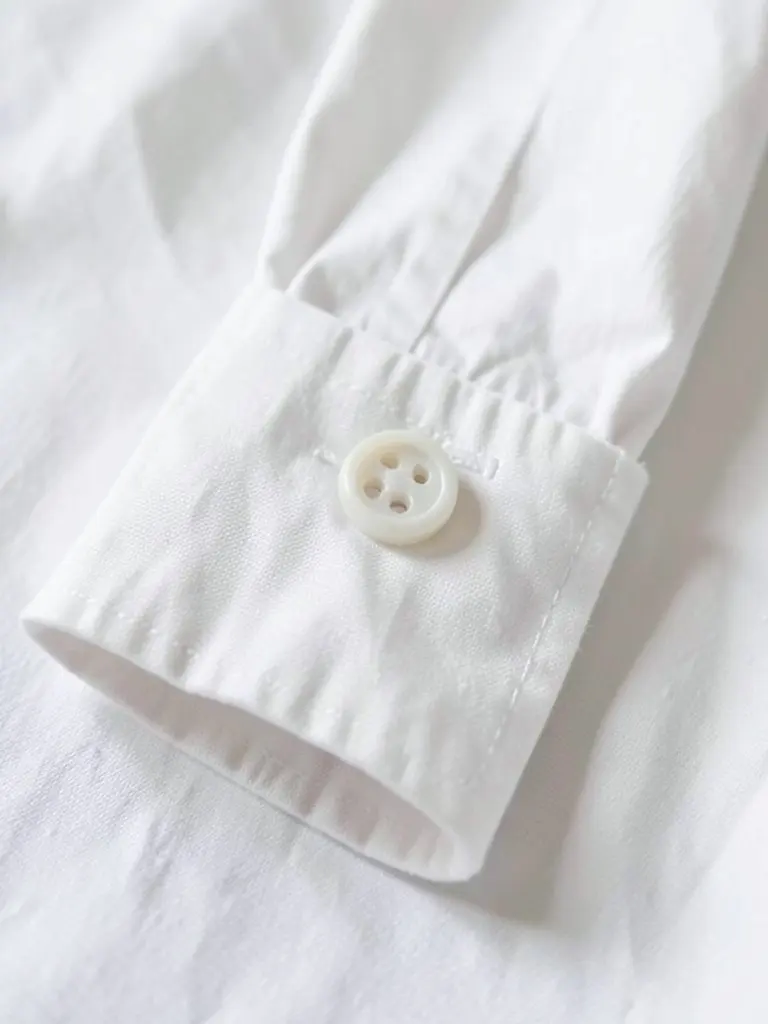
- Detail close-up: fabric, stitching, buttons, zips, a label or a print. It answers the quality question before a buyer asks it.
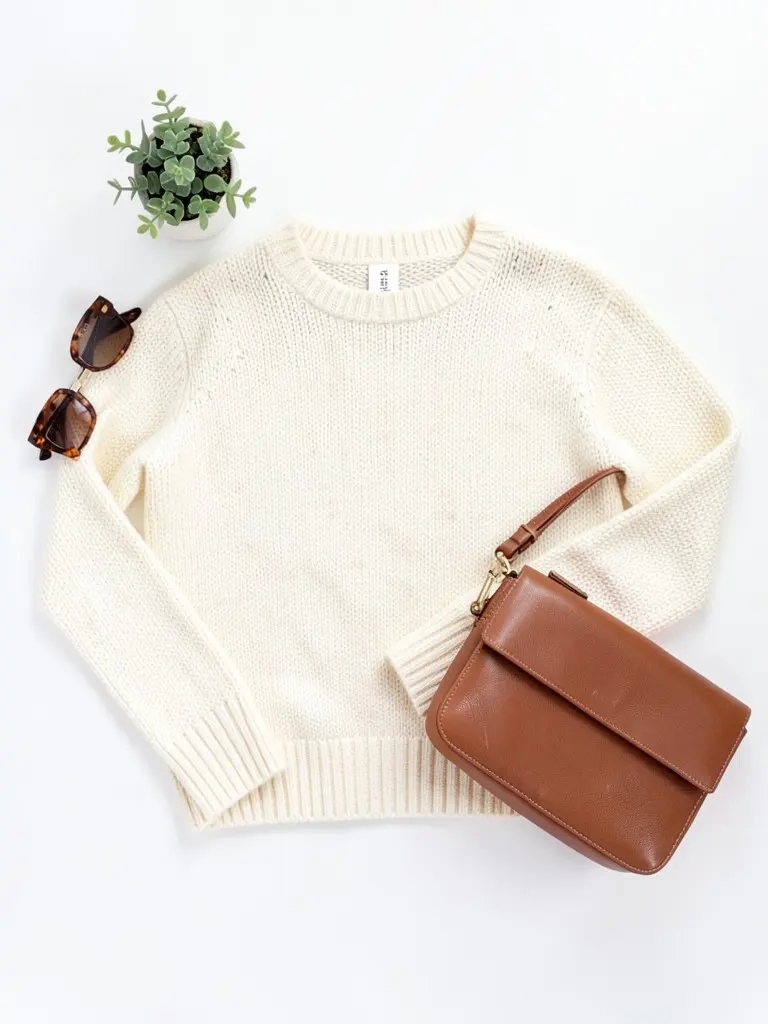
- Flat lay: the simplest shot. No model needed, good for a second image or for a basics line.
Style and lifestyle clothing photography ideas
- Lookbook or editorial: a styled pose on a warm or coloured backdrop. Good for a homepage and a collection page.
- Street scene: the piece worn walking outdoors. Good for ads and social posts.
- Home scene: a relaxed pose in a bright interior. Good for loungewear, knitwear and everyday pieces.
- Coloured or textured backdrop: a bold backdrop can suit a trendy item, but it can pull attention from the product, so keep one plain version too.
- Props and staging: a bag, a plant or a chair adds context to a flat lay or a lifestyle shot. Keep it to one or two items.
Pick a plain main image first, then add one or two style shots. A product gallery of 4 to 7 pictures is common for clothing.
Mannequin, ghost mannequin and rack ideas
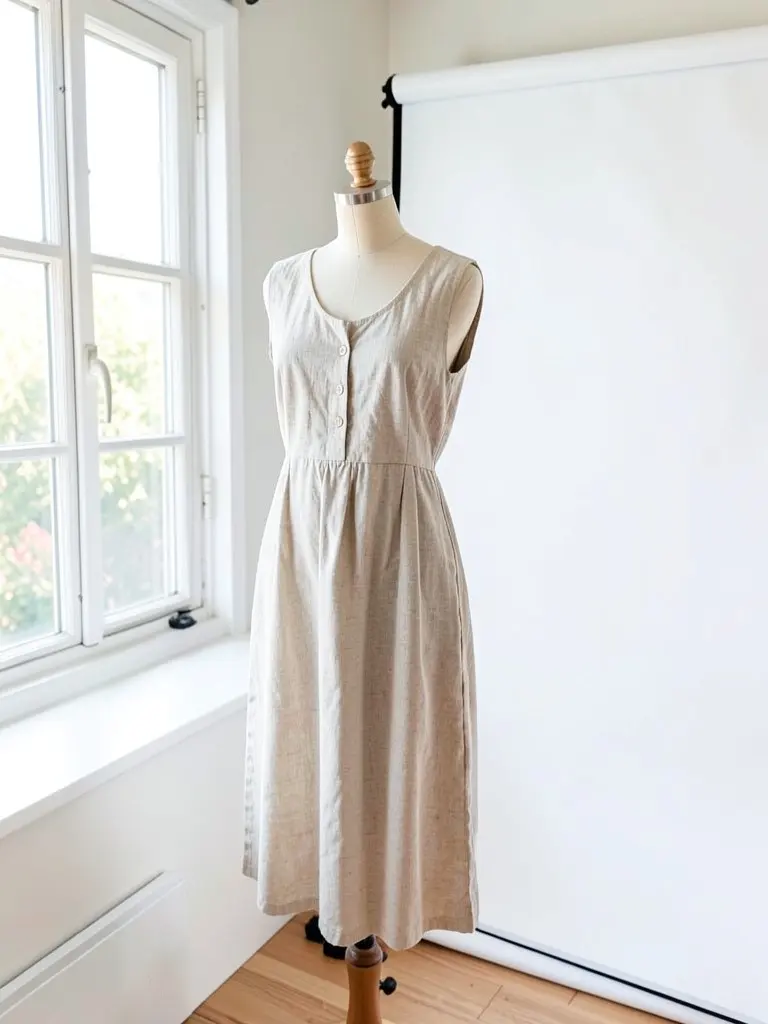
- Mannequin: shows fit and drape without a model. See our guide on photographing clothing on a mannequin.
- Ghost mannequin: the garment appears worn but with no body, so the shape is clear and the mannequin is edited out. Try the AI Ghost Mannequin Generator.
- Rack or hanger shot: a garment on a rail or hanger. It suits a boutique feel and decor on a site.
Easy tips that make any clothing photo better
- Steam or press the garment first. Wrinkles show clearly in photos.
- Use bright, even light, such as a window with no direct sun. Our guide on clothing photography lighting explains setups.
- Show the whole garment, with nothing covering it, and keep the same angle for each product so the store looks consistent.
- Keep colours true. Compare every picture with the real item before you publish.
- A phone is enough to start. A plain wall, a sheet or a roll of paper works as a backdrop.
Make on-model clothing photos from one garment photo
If you have the clothes but no model or studio, upload one clear photo of the garment to AI Garment Photoshoot, choose a garment type and a model, and run it through the shots: front on white, back, three-quarter, detail close-up, lookbook, street and home. Keep the same model for the set so it reads as one shoot, and compare each result with the real garment. Simple garments come out closest; fine text, small logos and sheer fabrics are the hardest.
For a single on-model picture with the pose and background you pick yourself, use the AI Clothing Model Generator. For a white main image that follows marketplace rules, see Clothing Product Photography.
Clothing photography ideas you can copy at home
You do not need a studio. Daylight from a window, a plain surface and a steady phone are enough. Here are three set-ups that work for a small shop: a window-light hang, a flat lay and a close-up of fabric detail.
Keep the background plain, show the true colour, and take the same shots for every item so your shop looks consistent.
FAQ
What are good clothing photography ideas for an online store?
Start with a front photo on a plain background, then add a back view, a three-quarter angle and a detail close-up. Add one or two style shots, such as a lookbook pose or a street or home scene, for your collection page and ads.
How many photos should a clothing listing have?
Most stores show 4 to 7 images per item: a main image on a plain background, the back, a closer angle, a fabric detail and one or two pictures of the piece being worn in a real setting. Check the rules of your marketplace for the main image.
Can I do clothing photography at home?
Yes. A window with soft daylight, a plain wall or sheet as a backdrop, a tripod or a steady surface for your phone, and a steamed garment are enough to start.
How do I photograph clothes without a model?
Use a flat lay from above, a mannequin, a ghost mannequin, or a hanger or rack shot. Or upload one garment photo to AI Garment Photoshoot and get on-model pictures from it.
Are the example photos real people?
No. The example photos are AI-generated adult models. No real person’s face or body is used.
Will the AI version match my real garment?
The tool is told to keep the colour, print, logo and stitching, and simple garments come out closest. Always compare the result with the real item before you publish.
What clothing photography ideas need no studio?
Window-light shots on a rail, flat lays on a plain table and close-ups of fabric detail. All three work with a phone and daylight. The example photos on this page are AI-generated.